)
)

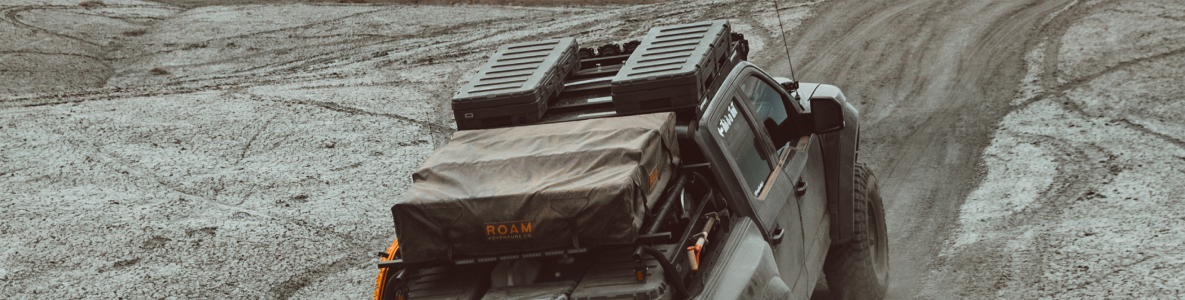
Setting Up Your ROAM Awning
In this video, we will show you how to set up the 6.5 ft ROAM Adventure Co. roof rack awning in 6 easy steps. If you haven't already installed your ROAM awning, checkout out our tutorial on Installing Your ROAM Awning.
A Few Pro Tips:
1. Always secure your awning with stakes.
2. In extreme weather conditions it is always better to takedown your awning.
3. Avoid rain or snow build up by lowering the awning legs to create a run-off.
4. We recommend 2 people to set up the awning.
Let's Get Started.
Step 1: Unzip the Road Cover & Undo the Velcro Straps
- Inside the road cover are 2 Velcro straps that should be always be tightly fastened while traveling.
Step 2: Unroll the Awning
- It's important to unravel the awning clockwise toward you to ensure proper storage.
Step 3: Pull Down the Front Extendable Legs
- Left = Loose, Right = Tight
- Make sure to pull down the extended legs as needed, but never over-tighten.
Step 4: Pull Across the Side Support Arms into Pin Holes
- Make sure to pull out the extended legs as needed, but never over-tighten.
- Put the end pins of the side support arms into the pin holes.
Step 5: Velcro the Straps For the Side Support Arms
- Ensure you velcro every strap for the side support arms to ensure additional stability for the car awning.
Step 6: Stake In Your Awning
- This is the most important step of the process. Stake down your awning using the stakes and tools provided.
If you find yourself having any issues with setting up your awning or have questions, reach out to hello@roamadventureco.com for help.


