)
)

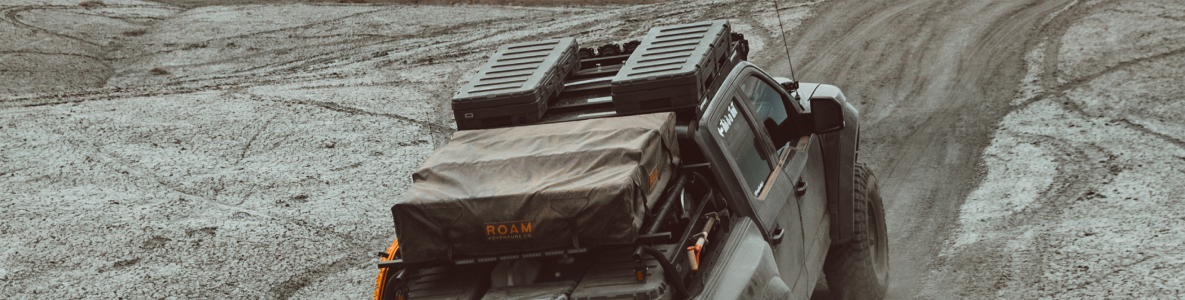
Mounting Your ROAM Roof Top Tent
In this video, we will show you how to mount the ROAM Vagabond Roof Top Tent to your truck or SUV in 5 easy steps. This mounting process will be the same for the Vagabond Lite and Vagabond XL Roof Top Tents.
Let's Get Started.
Step 1: Determine Your Cross Rail Distance
Minimum Cross Rail Distance:
Vagabond Lite - 36" Center to Center
Vagabond - 48" Center to Center
Vagabond XL - 60" Center to Center
Step 2: Gather Your Components & Tools
Included In Your Universal Mounting Kit:
- 2 Extrusion Bars
- 8 Slide Brackets with their 8 bolts
- 4 Mount plates
- 2 End Caps
What You Will Need:
- Wench Hand Tool (we do not recommend power tools)
Step 2: Confirm Bolt Placement in Slide Brackets
1. On each corner of the tent, we will take 2 of the slide brackets with their bolts alongside 1 mount plate.
2. Take your 8 slide brackets and confirm that all 8 bolts are accounted for.
3. Confirm the head of each bolt is sitting in the track of each aluminum extrusion.
4. Remove each nut from the 8 bolts and put aside.
Step 3: Place The Slide Brackets Into Extrusion
1. Remove 2 rubber extrusion caps from the extrusion bars.
2. Place the slide bracket into the extrusion bars.
3. Position your slide brackets such that you have bolts placed on either side of your crossmember.
Step 4: Install The Mount Plates
1. Take your mounting plate and place it in line with the bolts. Depending on your application, you may use the inner holes or the outer holes. For this application we are using the inside holes.
2. Secure the mounting plate by placing your 2 washers on the correlating 2 bolts. Then place 2 nuts over the washer and screw until tight. Use your hand tool to fasten. Do not over crank the nut and we do not recommend power tools.
3. Repeat these steps for the remaining 3 mounting plates on the tent corners.
4. Reinsert the 2 rubber end caps back into the extrusion bars.
Step 5: Confirm Tent is Properly Mounted
1. Before putting the tent on the vehicle, pay attention to which way you want the tent to open up.
2) Once you have the hardware secured and double checked, you are ready for adventure.
If you find yourself having any issues with mounting your roof top tent or have questions, reach out to hello@roamadventureco.com for help.


